
Pearl Audio · Portland · Turntables set up by hand in Portland
Turntable Set Up by Russ
Every turntable that leaves Pearl Audio is set up by hand, by the same two people. Russ has made turntable setup one of his main jobs for fourteen years and sets up several tables every week. John has set up turntables for Pearl Audio's clients since the store opened in 2005. This page explains what that work involves, and why we take days over it rather than minutes.
- 14Years Russ has set up turntables at Pearl Audio
- 20+Years John has set up turntables here
- WeeklySeveral tables set up every week, in the store and in homes
- DaysHow long an LP12 settles before we do its final tuning
The only component you buy unfinished
An amplifier works the moment you plug it in. A turntable does not. It arrives as a set of precision parts whose performance depends almost entirely on how they are put together and adjusted: the distance from the arm pivot to the spindle, the angle of the stylus in the groove, the force on the record, the tension of three springs, the speed of the platter. None of those settings is right out of the box, every one of them affects the others, and the differences involved are fractions of a millimeter and tenths of a gram.
That is why a carefully set-up modest turntable will embarrass an expensive one that has been assembled casually, and why we treat setup as a craft rather than a chore. Like any craft, the only way to get good at it is to do it constantly and to keep looking for ways to do it better. Between the two of us we have done it a great many times.
Two people, one bench
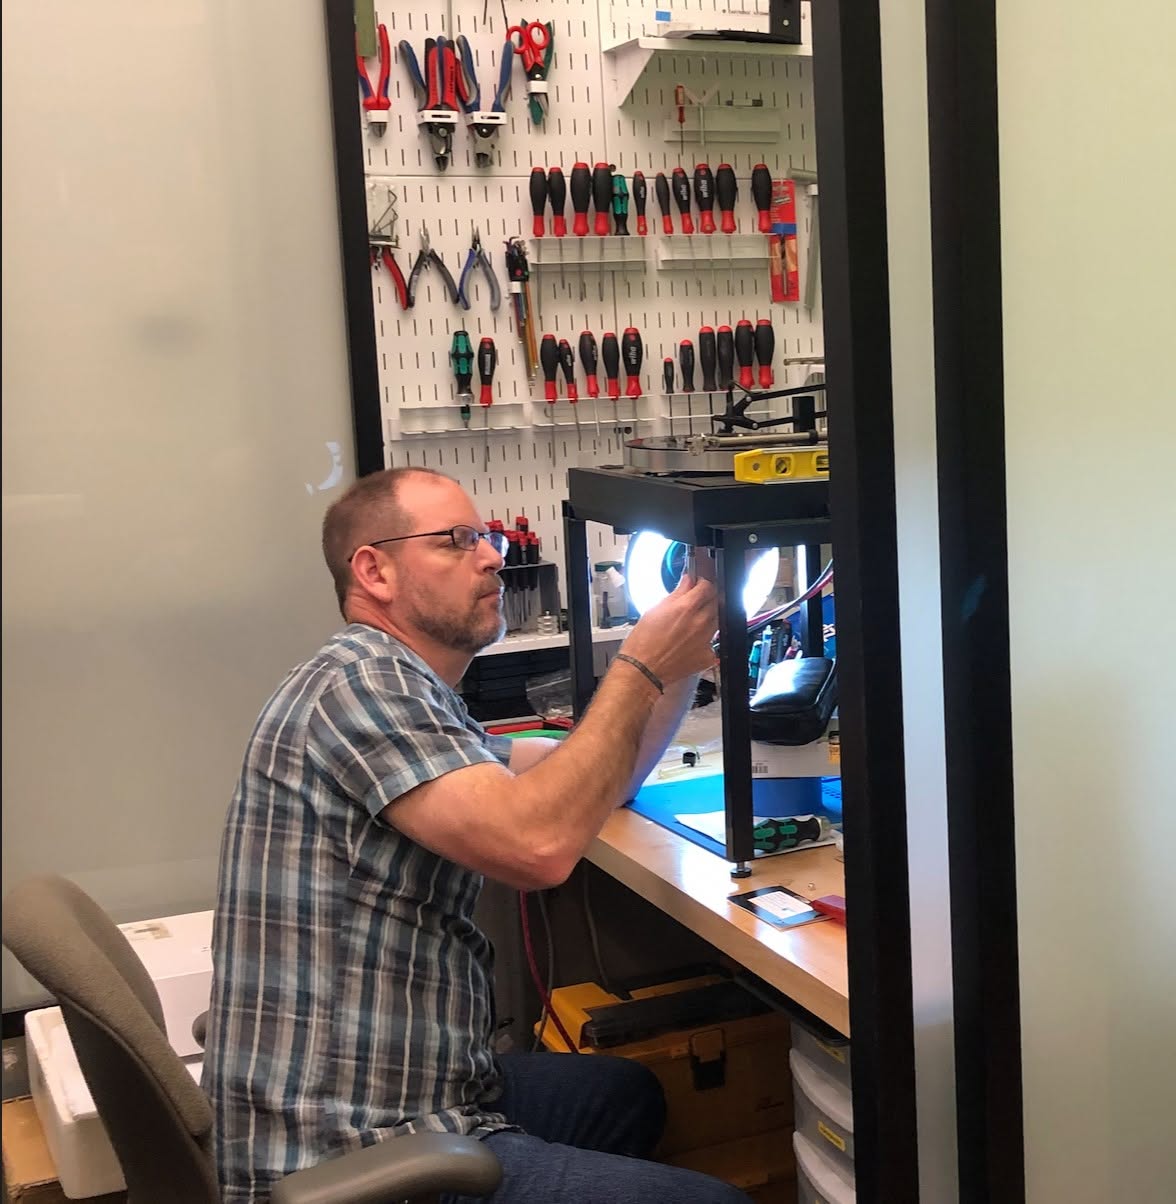
Russ has been at Pearl Audio for eighteen years, and for the last fourteen turntable setup has been one of his principal jobs. He sets up numerous tables every week, from Rega Planar 1s to Klimax LP12s, in the store and in clients' homes, and he has done it on Linn, Rega, Clearaudio, Technics, McIntosh, Luxman and TechDAS decks. His particular expertise is the Linn Sondek LP12. He carries out the full range of LP12 upgrades, from Karousel bearings and Kore and Keel sub-chassis to Lingo and Radikal power supplies, Ekos SE and Arko arms and Bedrok plinths, and he builds new LP12s from the plinth up, including decks on custom-painted plinths. If your table was delivered by Pearl Audio in the last decade, there is a good chance Russ set it up.
John opened the store in 2005 and has set up turntables for its clients ever since, on decks and arms from a good many makers besides Linn. On the long jobs the two of them work together, one setting and one checking. Both have attended Linn's invitation-only LP12 Masters class.
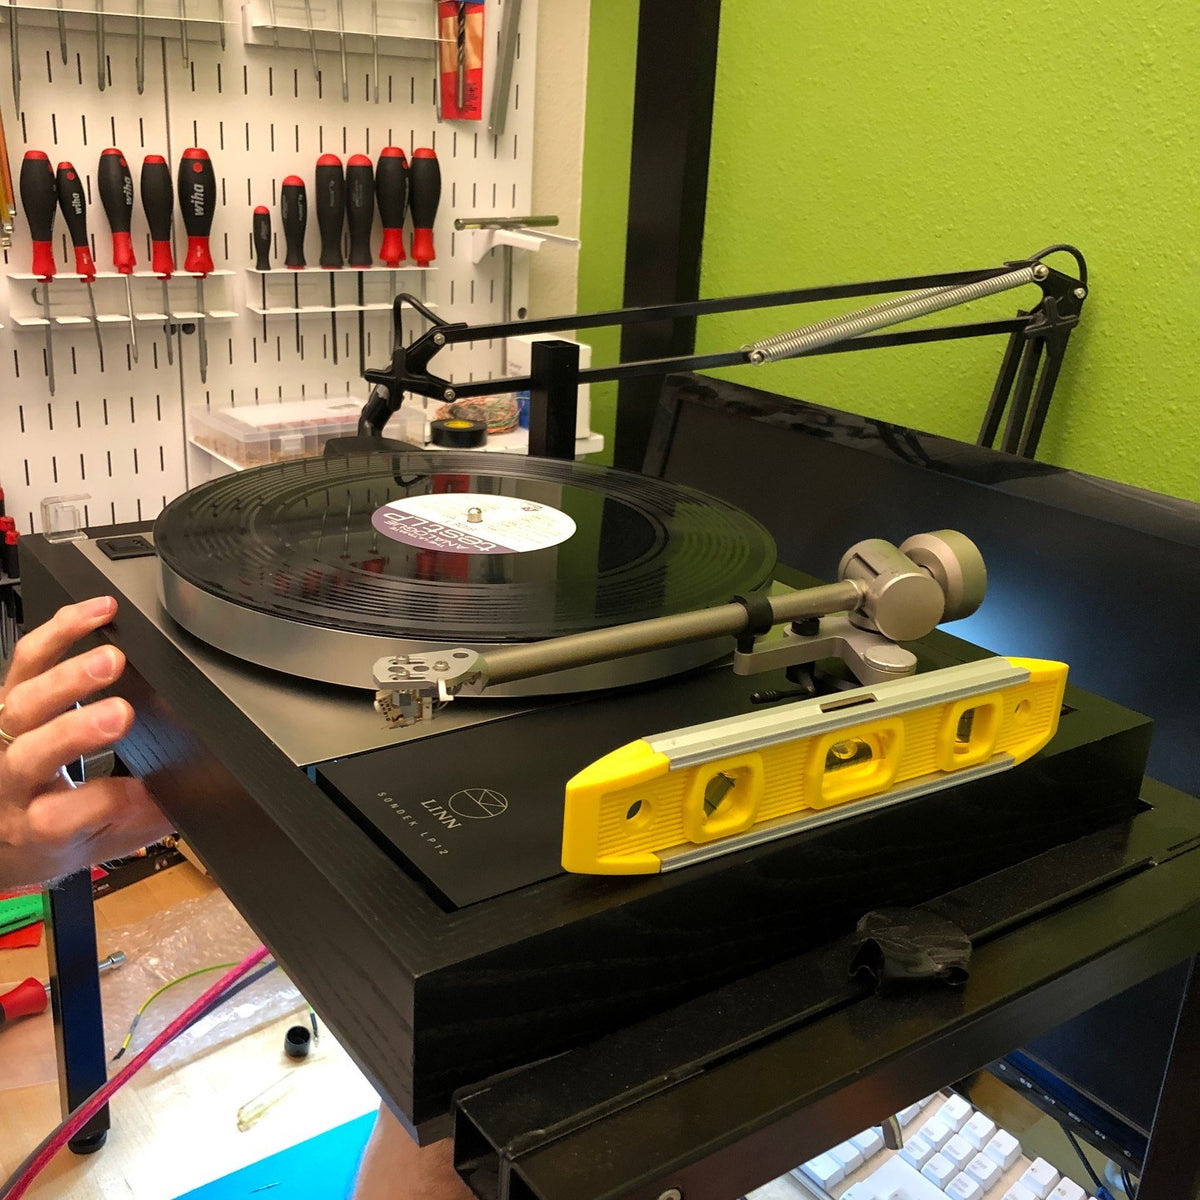
They share one bench. Its top is a maple cutting board, five feet by three, made by Crosscut Hardwoods on NW Front Avenue, about two miles up the river from the store: Oregon wood, for an Oregon shop. It sits on heavy steel pillars and is shimmed dead level, so a turntable rests on it exactly as it will on a good rack at home. It has been in the shop for fifteen years, and you can read every one of them in it: tooling marks, scrapes and the rub marks of every turntable, armboard and gauge that has been set down on it. Nothing about it is for show. It is simply where the work gets done, several times a week, and it looks it.
The process
What a proper setup involves
Not every step applies to every table, and the order varies, but this is the work behind a turntable that leaves Pearl Audio. Each setting is measured, then confirmed by listening.
- 01
Where it sits
Before anything else we deal with the support. The shelf or rack must be rigid and dead level in both axes, away from the loudspeakers, and on a floor that does not transmit footfall. We check with a machinist's level, not a bubble on a phone, because the suspension and the bearing both assume the deck is level.
- 02
Bearing, platter and drive
The main bearing is cleaned, oiled to the maker's specification and allowed to seat. We check the platter for runout, the belt for condition and stretch, the pulley for alignment, and we set speed at 33⅓ and 45 with a strobe or tachometer rather than trusting the factory setting, since motor supplies, belts and climate all shift it.
- 03
Arm mounting distance
The distance from the arm pivot to the platter spindle is measured and set to a fraction of a millimeter with the arm maker's jig or a Feickert gauge. If this number is wrong by even a millimeter, every alignment downstream is wrong too, and no protractor can fix it.
- 04
Cartridge alignment
With the mounting distance right we set overhang and offset angle on a precision protractor, sighting the cantilever rather than the cartridge body, so that tracking error is at its minimum across the record. We choose the alignment geometry that suits the arm and the records you play.
- 05
Mounting torque
The cartridge bolts, the arm collar and the bolts through an LP12's sub-chassis and top plate are tightened with a torque wrench to the maker's figure, not by feel, and we keep a set of drivers that reach down to the tiny values a cartridge needs. A metal-bodied cartridge wants to be coupled firmly to the headshell and comes alive when it is. A plastic-bodied one, a Rega Nd for instance, is distorted by that same force and wants a far lighter setting, which is why Rega publishes a single low figure and sells the wrench to match. Too loose and the body smears detail; too tight and it rings, or cracks. The difference is not subtle.
- 06
Tracking force
Set with a digital gauge at record height, within the cartridge maker's window and then fine-tuned by listening. A tenth of a gram is audible on a good cartridge.
- 07
Arm height and stylus rake angle
The arm is raised or lowered so that the stylus meets the groove at the angle the cutting head used, around 92 degrees. We check it under the microscope and then confirm it by ear, because a cartridge that is a degree off sounds either thin or thick, never right.
- 08
Azimuth
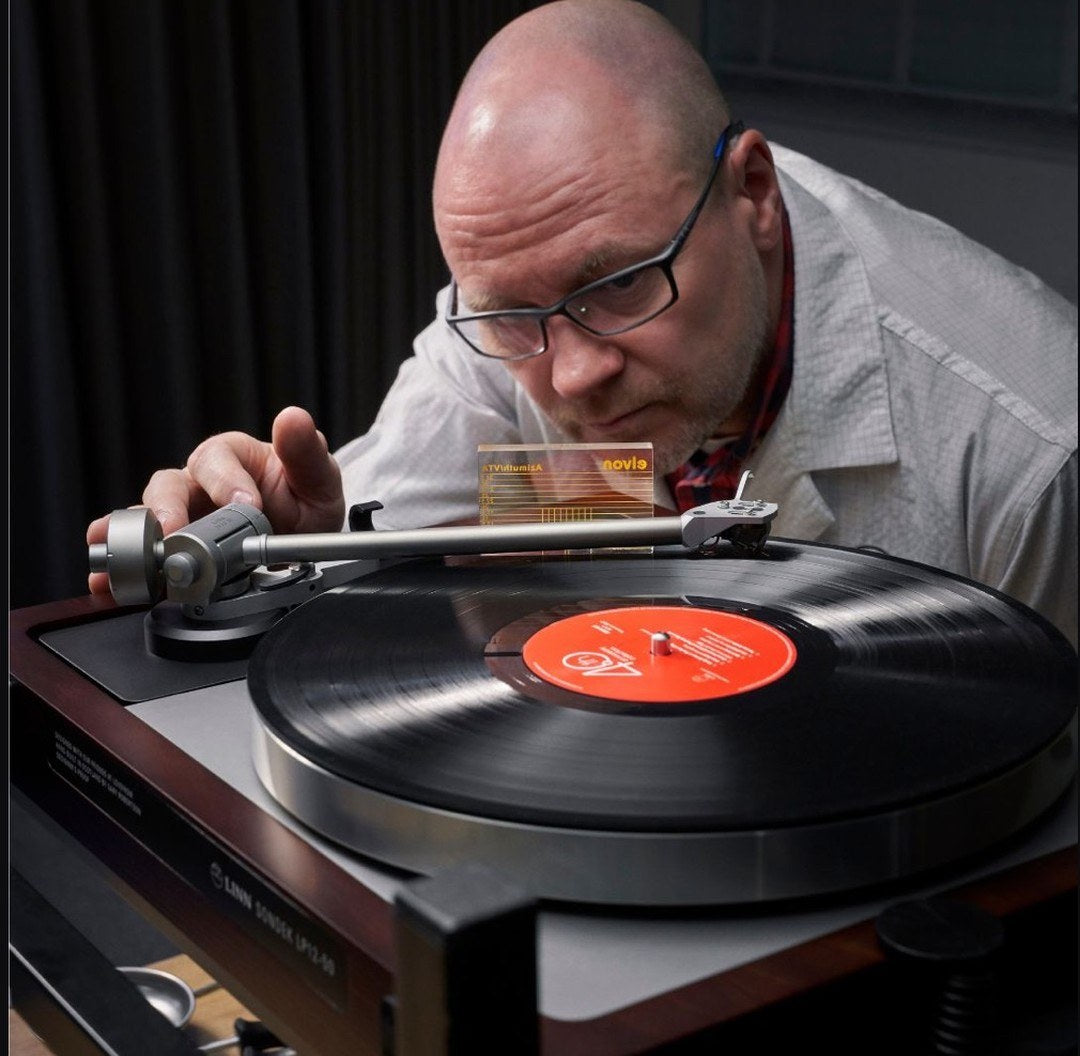
The stylus must stand perpendicular to the groove, which is not the same as the headshell looking level. We measure it with a test record and an oscilloscope or Fozgometer, reading channel separation and crosstalk, and adjust until the two channels match.
- 09
Anti-skate
The inward pull on a pivoted arm is balanced using a test record and listening, and it is almost always less than the dial suggests.
- 10
Electrical matching
The phono stage is set for the cartridge's gain, impedance and, for moving magnets, capacitance. Cables are dressed, grounding is sorted out and the system is checked for hum and noise with the volume up and the arm at rest.
- 11
Suspension
On a suspended deck such as the LP12 the three springs are tuned so that the sub-chassis bounces straight up and down with no sideways wobble, and the arm cable is dressed so that it neither pulls the suspension nor rattles against it. This is the part of LP12 setup that separates people who have done it a few times from people who have done it hundreds.
- 12
Settling and run-in
The deck is then left to settle and play for a few days, with the cartridge run in on a grooveless record. The springs and grommets relax, and the cartridge's own suspension sets in. Measurements taken before this are measurements of a table that is about to change.
- 13
Final tuning by ear
After settling we go back over the suspension, the tracking force, arm height and azimuth, then listen in our quiet main room through reference phono stages, first with test records and then with music. There is no substitute for this last step.
A Rega takes an hour or two of this. An LP12 build or a full upgrade takes most of a day at the bench, plus the settling period.
Linn Sondek LP12
Why the LP12 rewards expertise
The Linn Sondek LP12 is a suspended sub-chassis turntable, which means the platter, bearing and arm sit on a steel or aluminum sub-chassis hung from three springs. The design isolates the record from the outside world better than almost anything else, but only when those springs are tuned correctly, and they go out of tune when the deck is moved, when a new arm or sub-chassis changes the mass they carry, and slowly, on their own, with time.
Tuning them is a matter of feel as much as measurement. Each spring is adjusted on its bolt, the grommets are seated, and the sub-chassis is bounced and watched until it moves in a single clean vertical line with no rocking, while the arm cable is dressed into the one position where it does not fight the springs. Every bolt that matters, from the sub-chassis and armboard to the top plate and the arm collar, is taken to Linn's torque figures rather than guessed at. Then the belt, the motor position and the top plate are checked, because on an LP12 they all interact. Russ has done this on a great many Sondeks, which is why it takes him an afternoon and not a weekend, and why the deck stays in tune afterward.
We also build new LP12s to order, in any of the three current specifications or in a configuration of your own, and we carry out every Linn upgrade from the Karousel bearing to the Bedrok plinth. The LP12 story covers the deck's history and what each part changes.
Settling and run-in
Why we wait a few days
Most turntable setups are finished in one sitting. Ours are not, and the reason is that two parts of the system keep changing after the first adjustment.
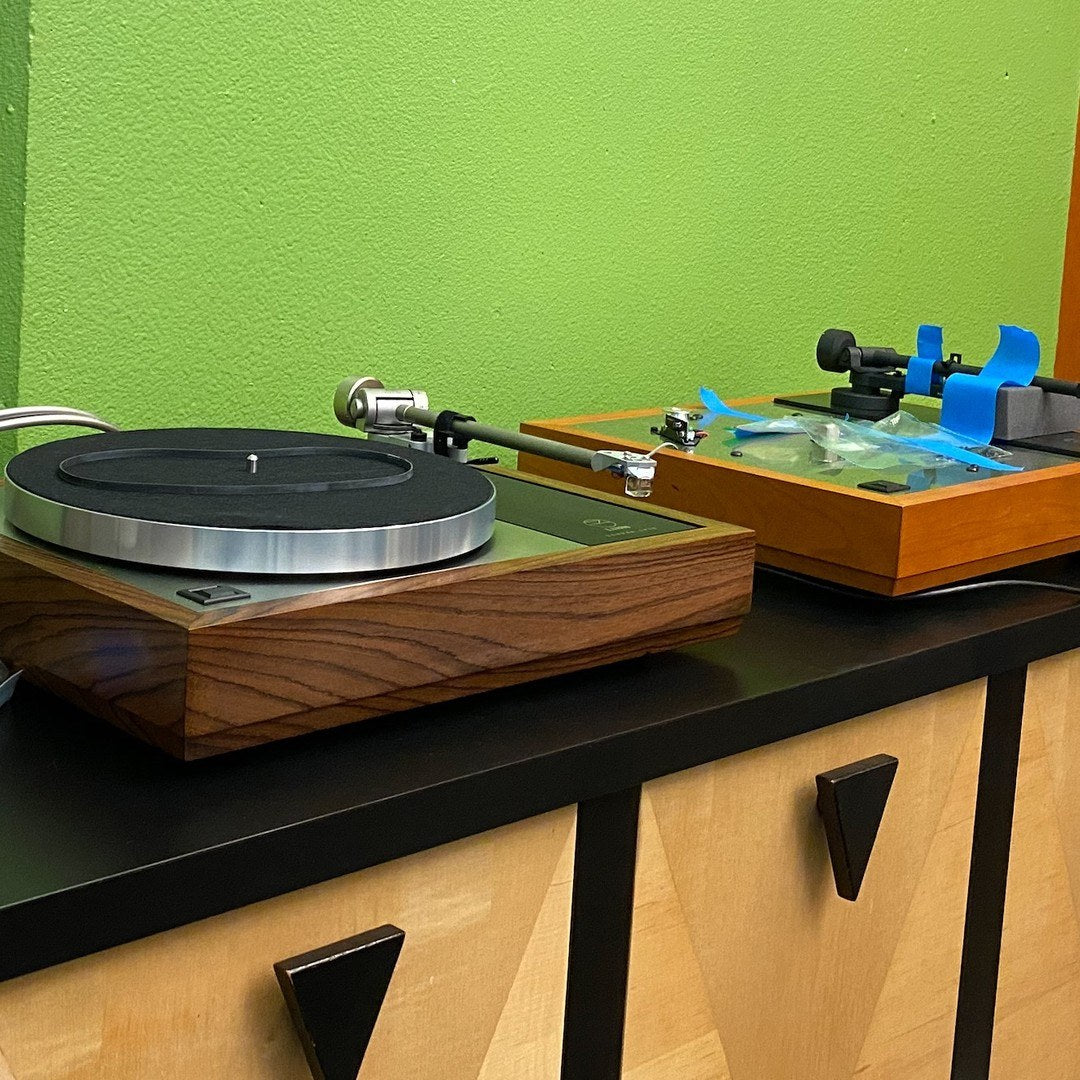
The first is the LP12's suspension. Freshly adjusted springs and grommets relax over the following days, and a sub-chassis that bounced perfectly on the bench will sit slightly differently once it has settled. The second is the cartridge. A phono cartridge's cantilever is held in a tiny rubber suspension, and like any new rubber it softens and takes a set over its first hours of use. As it does, the stylus sits a little lower and the geometry you set so carefully drifts.
So we set the deck up, then let it run for a few days. We play the cartridge in on a grooveless record, which exercises its suspension without wearing a stylus or a record, and we let the LP12 sit and settle. Only then do we do the final tuning: the suspension bounce is checked again, and tracking force, arm height and azimuth are reset against a cartridge that has reached its working state. It is slower, and it is the only way we know to deliver a table that still measures and sounds the way it did when it left.
Equipment
The tools we use
We keep the jigs and gauges for every arm and deck we sell, from Linn, Rega, Clearaudio and Pro-Ject, alongside a Dr. Feickert protractor and the Acoustical Systems SMARTractor, WallyTools gauges, a set of torque drivers and wrenches that cover everything from cartridge bolts to the sub-chassis bolts of an LP12, digital stylus force gauges, a strobe and tachometer for speed, an oscilloscope and a Fozgometer for azimuth, the AnalogMagik software suite, and a long-working-distance USB microscope for looking at stylus rake angle, azimuth and the condition of the stylus itself. We also keep a shelf of test and setup records, several of them long out of print, and a grooveless record for run-in.
Not all of this comes out for every table. Its value is that it lets us rule things out quickly and with certainty: a slightly bent cantilever, a spindle distance set wrong at the factory, a noisy motor, uneven stylus wear, a suspension that has given up. For final tuning, the tools are our ears, a very quiet listening room and reference phono stages whose gain and loading can be changed from the front panel.
At the maple bench


In the store and in your home
A table we sell is set up here first, settled, tuned and listened to, and then, if you prefer, set up again in your home, where the shelf, the floor and the room are different and the suspension has been disturbed by the drive across town. We level the support, re-check the suspension and the speed, confirm the alignment and listen with your system before we leave. Clients who move house, change a cartridge or simply want their LP12 looked over after a few years bring their decks back to Russ, and we carry out LP12 service and upgrades whether or not the deck originally came from us.
Next
Bring us your turntable, or let us build you one
Call or write to arrange a setup, an LP12 upgrade or a new build, or come and hear what a properly set-up table sounds like in our Portland showroom.
Arrange a setup or an auditionOr call (503) 222-2599 · sales@pearlaudio.com · The Linn Sondek LP12